Making sense of the Common Data Model and Microsoft PowerApps in Dynamics 365
The Common Data Model and productivity tools, such as PowerApps or Microsoft flow, allow users to create a simple example mobile app.
The Common Data Model and productivity tools, such as PowerApps or Microsoft flow, allow users to create a simple example mobile app.
Table of Content
When Microsoft Dynamics 365 was announced a few weeks ago, the Common Data Model and other Microsoft productivity services such as PowerApps and Microsoft Flow were a significant part of this, along with the unified offering of Dynamics CRM and Dynamics ERP cloud services under this umbrella. The solution stack diagram below for Dynamics 365 depicts the positioning of these various elements in Dynamics 365.

In my earlier post I mentioned about the release of the public preview of the Common Data Model last week. Now that the public preview of the Common Data Model is available, let us try to make sense of these together and see what are the possibilities using the CDM and Microsoft PowerApps.
In today’s post, we will create a simple example mobile app using Microsoft PowerApps and the Common Data Model database.


Log in to Microsoft PowerApps. You can use the PowerApps web version to create your apps. But the best way to do this is to download the app from Windows store .
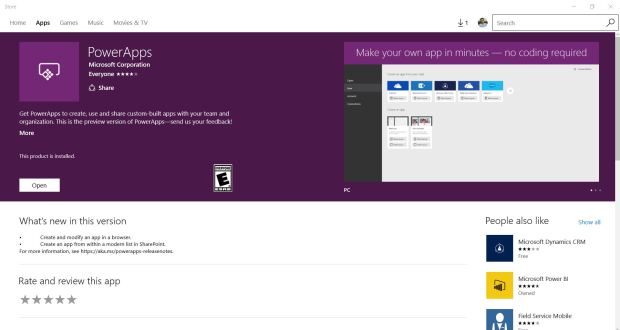
In this post, I will use the windows store app to create this sample mobile app.
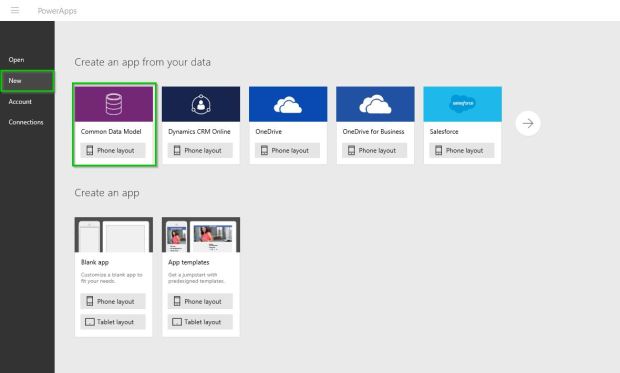
Launch PowerApps and click New tab to select the data source. While you can use various data sources such as Dynamics CRM online, excel file stored in the cloud, online storage such as OneDrive or Google Drive, in this case we will use the Common Data Model as the data source for this app.
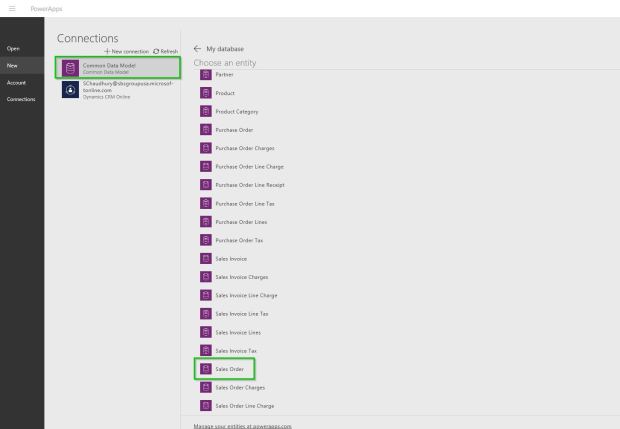
On the next screen, select the entity that you want to use in this app and click Connect button. For this sample app, we will use the Sales Order entity and build a simple app to interact with Sales orders (Simple actions such as view sales orders, edit or even create a new order).
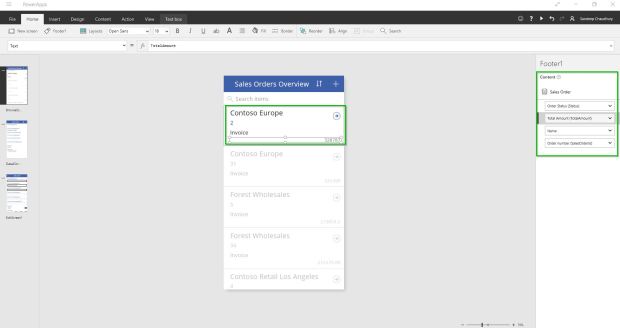
At this point, PowerApps will consume the Sales Order entity data and create the sample app with some default screens automatically, which you can adjust and change to make it look the way you want it. The auto creation feature comes in handy, as you do not need to create the app from scratch.

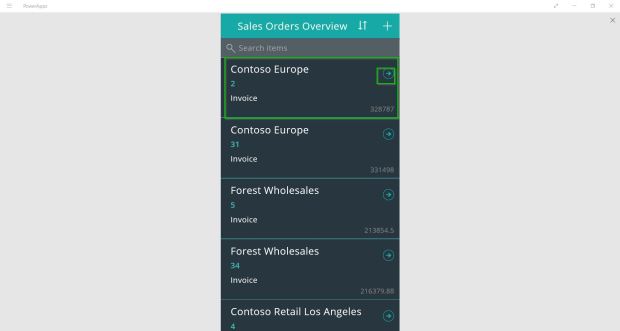
Now that the default screens of the app are created, let us try to edit those a little bit to make them look more complete. The first screen is a Sales Order overview screen that shows the list of sales orders.


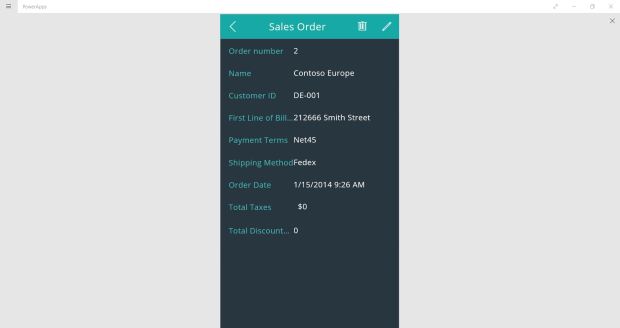

Below screenshot shows how this mobile app looked on my smartphone after I shared it and launched it on my Android phone.

This was just a very simple demonstration of the possibilities and what you can do with the Common Data Model and productivity tools such as PowerApps or Microsoft flow. The CDM is in preview now, but when it releases this fall, you will see a lot more data entities and much more capabilities of designing powerful business apps in the cloud for your organization.
That is it for today’s post and I will share more as details emerge and as I learn more.![]() . Hope you all will keep exploring more on this. If you’re intersted in learning more, you can check out all the features of Power Apps here.
. Hope you all will keep exploring more on this. If you’re intersted in learning more, you can check out all the features of Power Apps here.
Regards,
Sandeep
Sandeep Chaudhury is a Dynamics AX enthusiast with over 10 years of experience in functional consulting, Solutions architecture and systems integration, with expertise in the areas of Professional services automation(Project Management and accounting), Financials Management, Services Management, Sales and Marketing, Human resource management, Travel and Expenses Management and Procurement & Sourcing modules of Microsoft dynamics AX ERP. He has experience working with the new Dynamics AX (AX 7), AX 2012 R3, AX 2012 R2 and more.