Microsoft Power Automate: Setting Up Lookup and Link Values Using Dataverse
Aaron Moon||
Learn how to efficiently lookup and link values using Microsoft Dataverse with our step-by-step video guide and resources.
Aaron Moon
Consulting Manager, Apps and Automation
Follow Me:
Table of Contents
SHARE
SHARE
I’m often asked about a flexible way to connect and describe the relationships between any two records in Microsoft Dataverse. Lookup and Link Values Using Microsoft Dataverse helps you to promote teamwork, collaboration, and effective management of business and sales processes. Connections enable you to easily associate users, contacts, quotes, sales orders, and many other records with each other. The records in the association can be assigned particular roles that help define the purpose of the relationship.
For example, you meet someone at a tradeshow and create a contact for them. Wouldn’t it be cool to have a workflow that would automatically link or create an account for them as well to set them up on a prospect or customer journey? This can easily be accomplished with Power Automate, the powerful workflow automation tool from Microsoft.
Watch: Step-by-Step Demo on How to Lookup and Link Values Using Dataverse
How to Lookup and Link Values Using Microsoft Dataverse
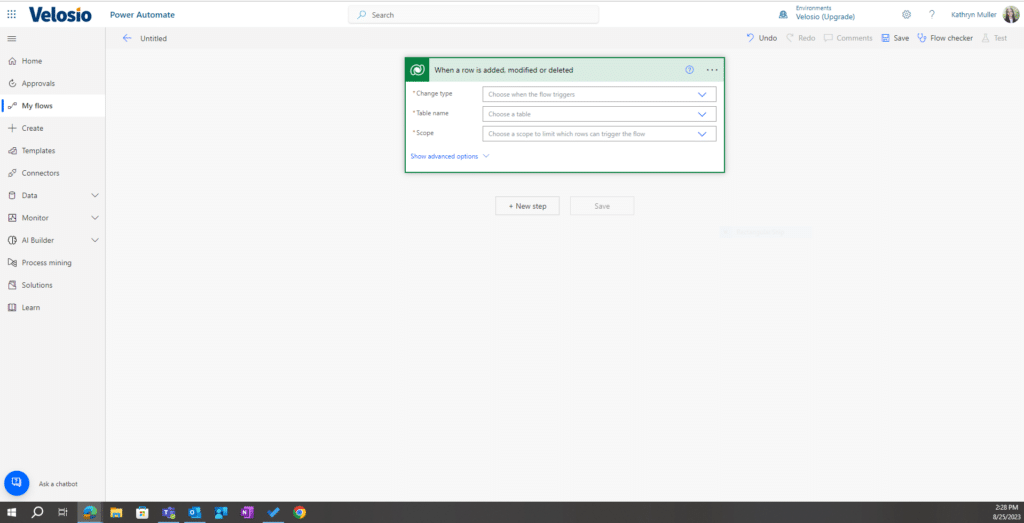
Open Power Automate
Select the App which will trigger your workflow: I’m going to use Microsoft Dataverse in this example. Click on “Microsoft Dataverse.”
Select trigger: “When a row is added, modified or deleted”. This enables the automation to watch the database and trigger a workflow when something new happens, like adding a contact
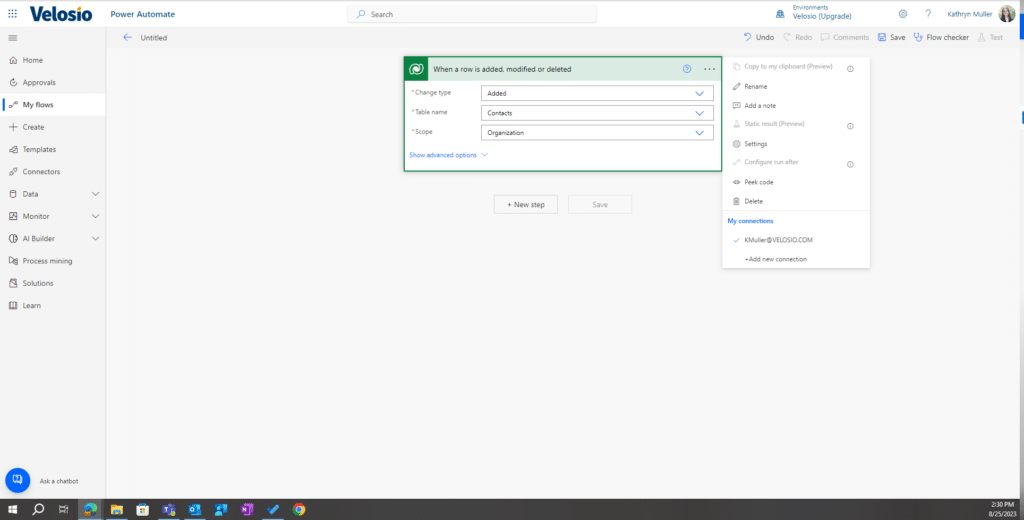
Change type > select “added”
Table Name > select “contacts”
Scope > I’m going to select “Organization” which covers the entire database, but you can select different values if you just want to trigger events on subsets of the data, for instance, Sales or Marketing only
Rename it to what you’d like to call the event.
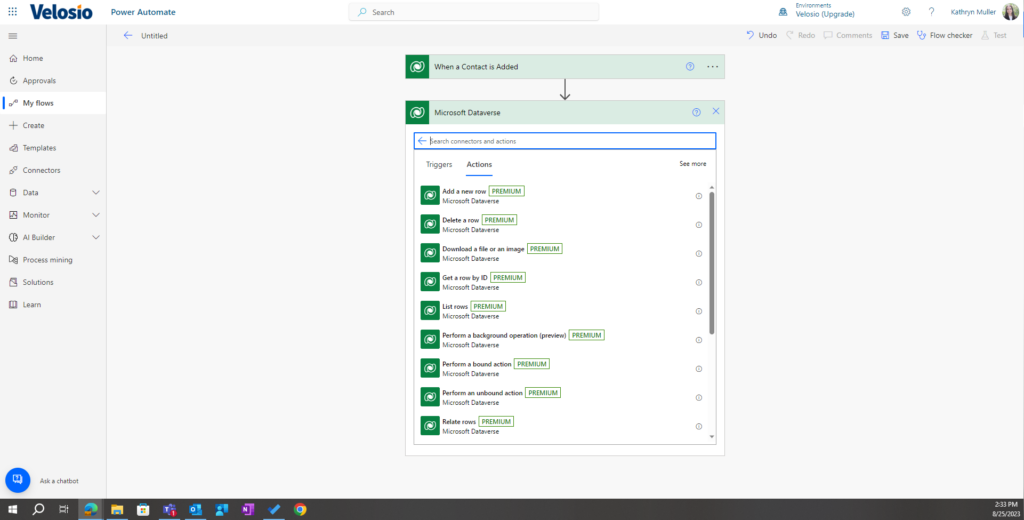
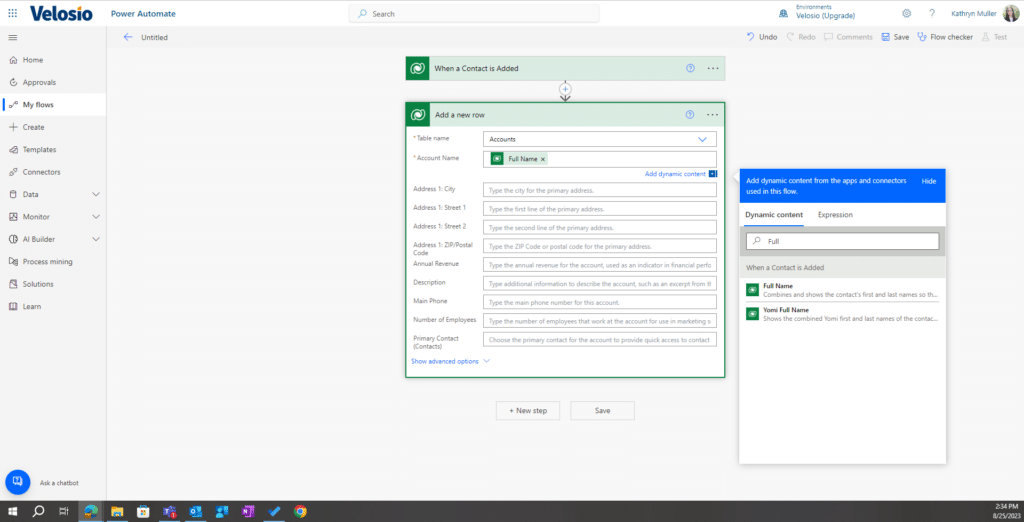
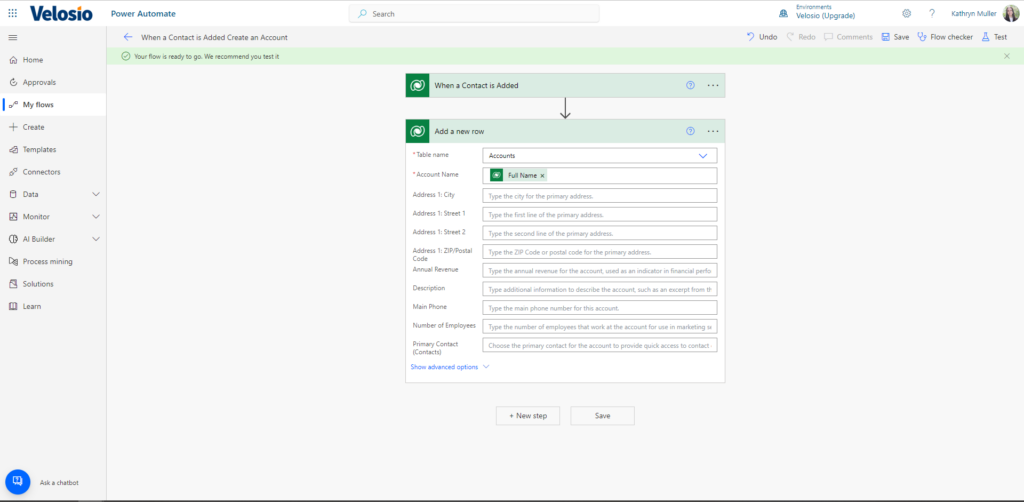
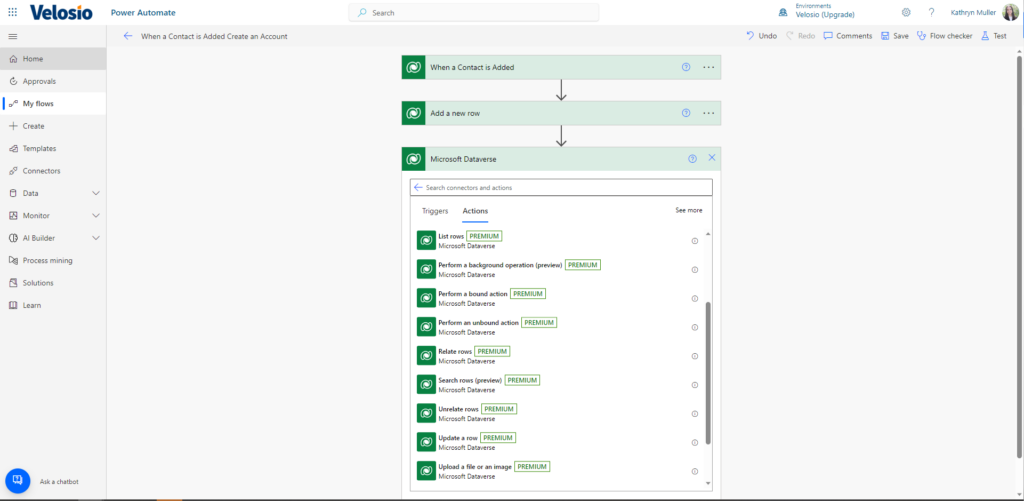
Click “next step” > select Microsoft Dataverse > “add a new row” > select table name “accounts”
Account Name is required, so I’ll select the person’s full name for the name of the account
Name your automation and click “save”
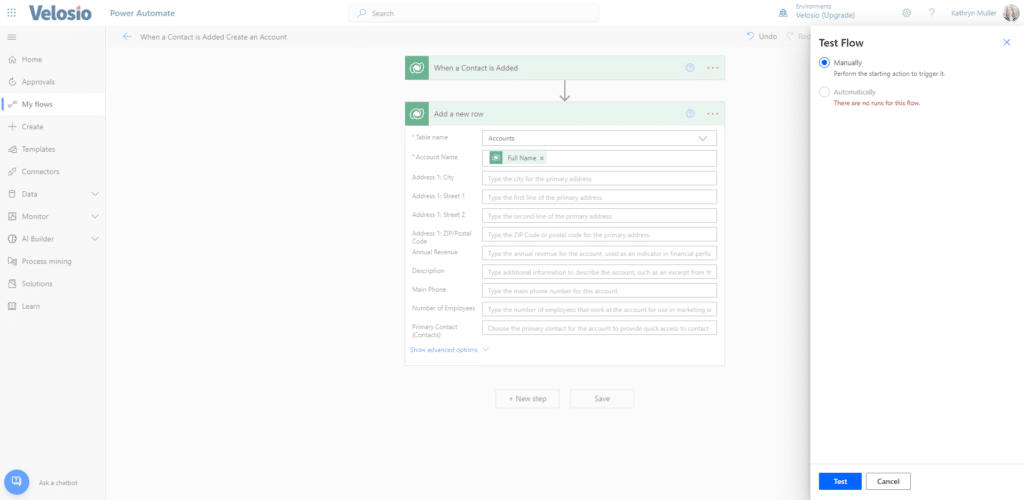
Now you need to test the new workflow. Add a new sample contact and Click “test flow” and select “manually” Save the new sample contact.
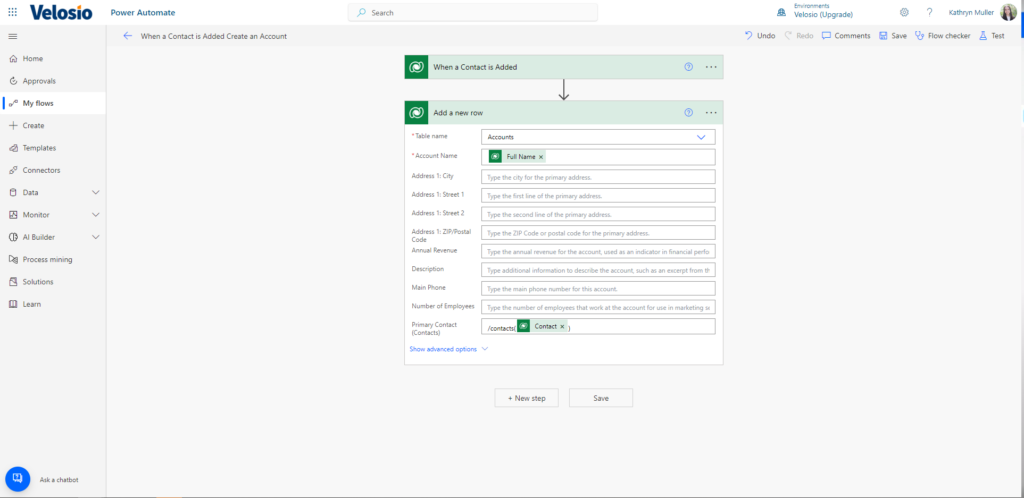
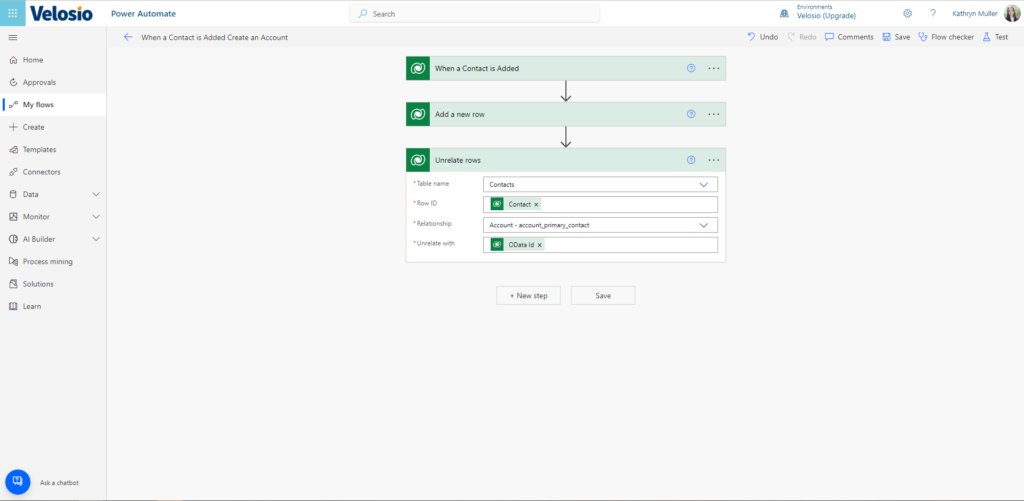
It should have worked! But another step you can add is linking the two items together. To set your contact as your primary contact, open the workflow that you just created and select > “primary contact (contact)”
Enter your table information exactly as it appears in the database. I’m using /contacts Then I need to put the ID of the contacts so I’ll choose from the pop up box /contacts(contacts) In parenthesis is the unique ID or GUID for the database. Click > save
Test it again by creating a new contact and account. Set automation ready to test, save your new contact, and run the test.
Power Apps and Power Automate provide an efficient low-code solution for businesses looking to empower their finance teams to manage workflows and business applications with ease.
Unrelate with: in pop up box search for “Odata id”
Now you know how to look up and link different rows together, and how to undo it. Also check out my video where I go through step-by-step. Try it and tell me how it goes! If you have any questions about this, please feel free to reach out to me and my team here at Velosio. We’d be happy to work with you on the automations that you’re working on.